If you’ve just started a project and created a new solution in Visual Studio 2022 you might be wondering how to add, or create a new .gitignore file. When you create a new solution in VS 2022, a .gitignore file is not added by default. I normally start building my application and only remember there’s no gitignore file when I realise there are unwanted files and folders in my remote repo. I’ve written another post which explains how to remove you bin and obj folders from your remote repo, but this post will explain how to add a new .gitgnore file to your VS solution.
Create new .gitignore file in Visual Studio
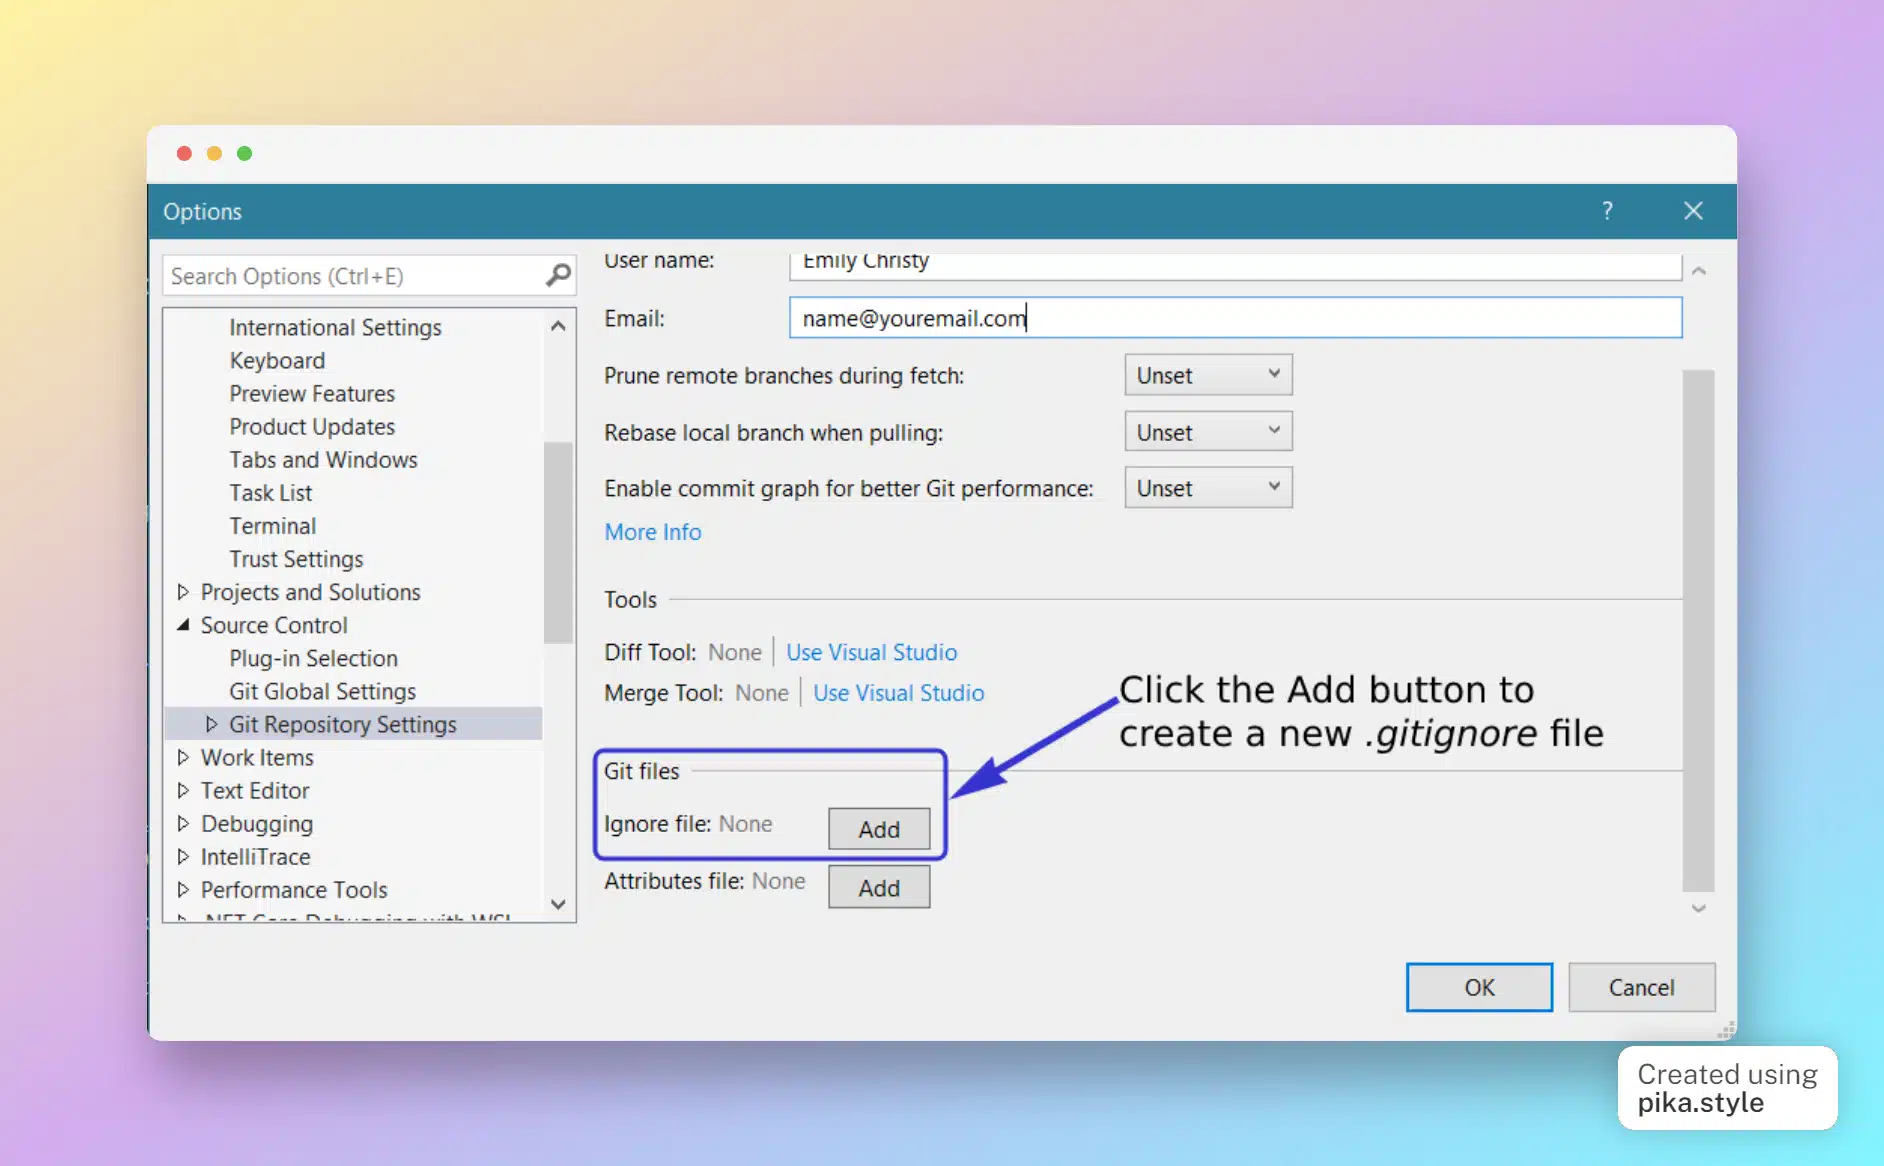
In Visual Studio 2022 you can create a new gitignore file by navigating to Git > Settings as shown below.
Once you’ve clicked the Add button to create the gitignore file, you may want to edit it, or just view it. To do so click the Edit button as shown here:

That will open the gitignore file in the normal file viewer pane and you can edit it and save changes – although you may not have to as it comes pre-populated with default values.
Once it’s been added to your solution you will need to use some git commands to push those changes to your repo. I normally do a git add . following by a git commit -m "Added gitignore file to repo" or something along those lines.
Summary
You should now be clear as to how to add and edit a gitignore file in your VS 2022 project.