This article will show you how to build the most simple example of a Web API using Node JS and Express. A lot of the Node JS API tutorials out there show you how to build an API, but also include details of returning data from a database. I’ll purposefully keep this simple and cover more complex development in a series of articles to follow.
In this tutorial, I’ll show you how to create a very simple Node JS API with only a few endpoints. I’ll also provide an example of how to structure your files and folders so that you are ready to build on this codebase to create a fully-fledged production-level API.
Table of contents
Why build with Node JS?
Node JS is a platform that allows you to build fast and easily scalable applications using Javascript. If you are already a front-end dev using Javascript then this offers the simplest route to being a full-stack developer.
Ready to jump ahead? Learn how to get Twitter API data using Node JS
Prerequisites
I’ll be using VS Code and presume that you are using the same or a similar IDE. I’ll also presume you have some prior coding experience – perhaps you’re a React front-end dev who wants to learn more about Node JS backend development.
Install Node, npm + Git
If you haven’t got Node installed already you will need to install it (here’s how to check if Node is already installed). The same goes for npm (Node Package Manager).
You may also want to consider using nvm (Node Version Manager) so that you can switch between different versions of Node on your local machine.
You might need to do this to test your application on different versions of Node. You may also need to do this if you’re a developer working on different projects that require different versions of Node to run.
I’d recommend going to this page and choosing the most appropriate method for your requirements – https://docs.npmjs.com/downloading-and-installing-node-js-and-npm.
Create a Node project in VS Code
Start by opening Git Bash (or Terminal, or whatever your command line tool of choice is). Change the folder in Git Bash to the one you want to create this project in. Then type these commands:
#create a new directory
mkdir nodeapi

#mode to the new directory
cd nodeapi

#opens vscode with the folder root in this directory
code .
In VS Code create a new file and call it app.js. Click save. This file will have been created in the folder you just created. Now we’ll add some code to the file to start building the Node JS Web API.
Add code to app.js
In app.js, add this code:
//create a variable called msg and store a string in it
var msg = 'This is a Node JS file';

//write the contents of the msg variable to the output terminal
console.log(msg);
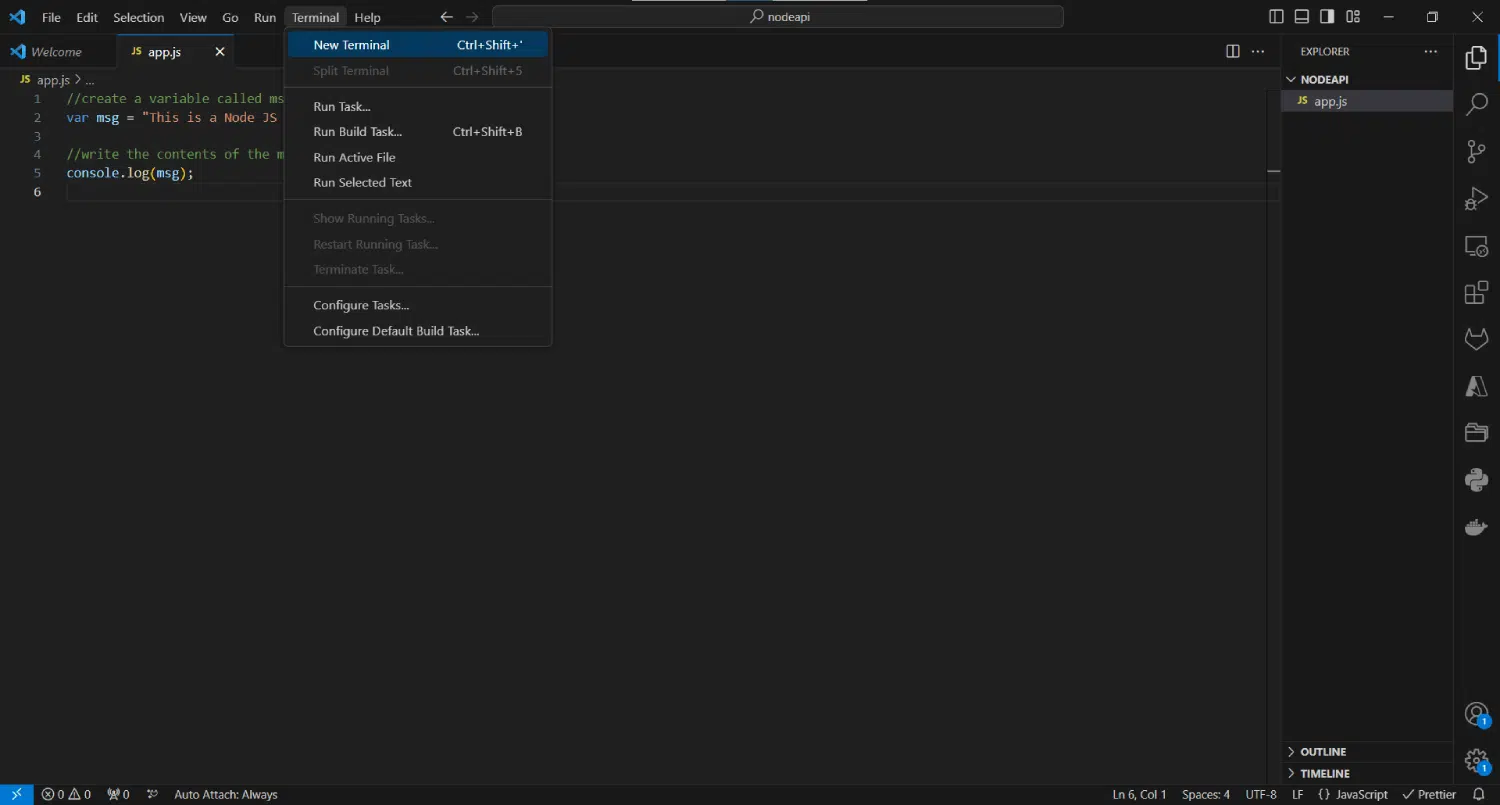
Save these changes and now we’ll test the file. To run the Node js file, you need to type a command in the Terminal window. VS Code has an integrated Terminal – you can use this to run code, manage git repos, and switch git branch. To open the Terminal in VS Code click on the Terminal button in the main menu, and then click New Terminal, as shown here.
Once it’s open, type this command and press return:
node app.js
You should see your text in the Debug Console in the IDE. In VS Code it looks like this:

So far you’ve created a new folder for the Node JS API project, created the main file (app.js) that will run your code, and you’ve learned how to run the Node JS file.
Create a package.json file
You will need a package.json file in your application for anything other than running basic code like we just have. It’s the package.json file from which you’ll manage any dependencies for the application. The easiest way to add a package.json file to the Node project is to run this command in Terminal:
npm init
It will prompt you for some values to include in the file (you can press return to accept all the default values). You should see a package.json file now in the file explorer in VS Code.
Start building the Node JS Web API
In order to start building an API in Node JS I’d recommend using Express because it hugely simplifies the code required to build web applications in Node.
Install Express
To install Express, type this command in Terminal and press return:
npm install express
Now that Express is installed you need to modify the contents of the app.js file to run as an Express Web API server.
Add web API code to main file
Replace all of the code in your app.js file with this code:
const express = require('express')
const app = express()
const port = 8080

//this is a basic endpoint
app.get('/test', (req, res) => {
  res.send('Hello, this is the response from the test endpoint')
})

//this will start the server on the port number specified
app.listen(port, () => {
  console.log(`Node JS app listening on port ${port}`)
})
Run the Node JS server
To run this go to Terminal and type this command and then press return:
node app.js
You’ll notice it’s the same command as before but this time the code in app.js is different. This time it will run as a server on Port 8080 and will sit there waiting for requests.
Test an endpoint
To request data from the server you need to call a URL either from a web application (one that is ‘consuming the api’), or you can test the server directly by typing the endpoint URL directly into your browser address bar. You can also use tools like Postman to test an API, but I’ll cover that in another post.
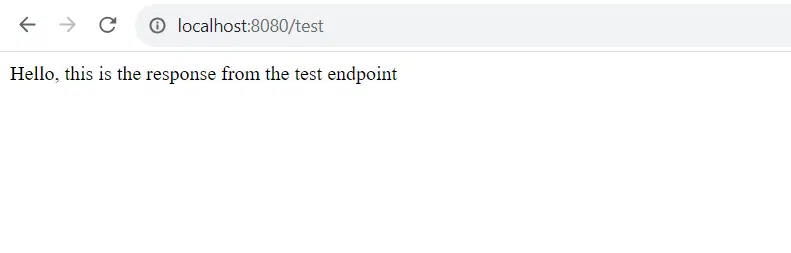
But what’s the URL? When you run a Node JS server locally the base URL will be http://localhost:8080 where 8080 should be whatever port number you’ve specified in app.js. Now you need to specify the endpoint too, so the URL you need to type in the browser is:
http://localhost:8080/testYou’ll see the response in the browser window like this:
Develop the Node JS web API further
Build a POST endpoint
Let’s add a second endpoint that allows you to send the data IN to the system – in other words to ‘POST’ data rather than ‘GET’ data.
In this case, you will define the data you are going to POST in a JSON object in the request body. In order to access the request body in your code, you’ll need to install some Express middleware, in this case, bodyParser. To do this run this command:
npm install body-parser
Once that’s installed you need to add a new line to app.js to import this package:
const bodyParser = require('body-parser');
Update app.js so that the new endpoint is defined like this:
app.post("/product", (req, res) => {
  // we would add some code to DO something with the data here //

  res.json(
    `Added new product : ${req.body.name}, ${req.body.size}, ${req.body.price}`
  );
});
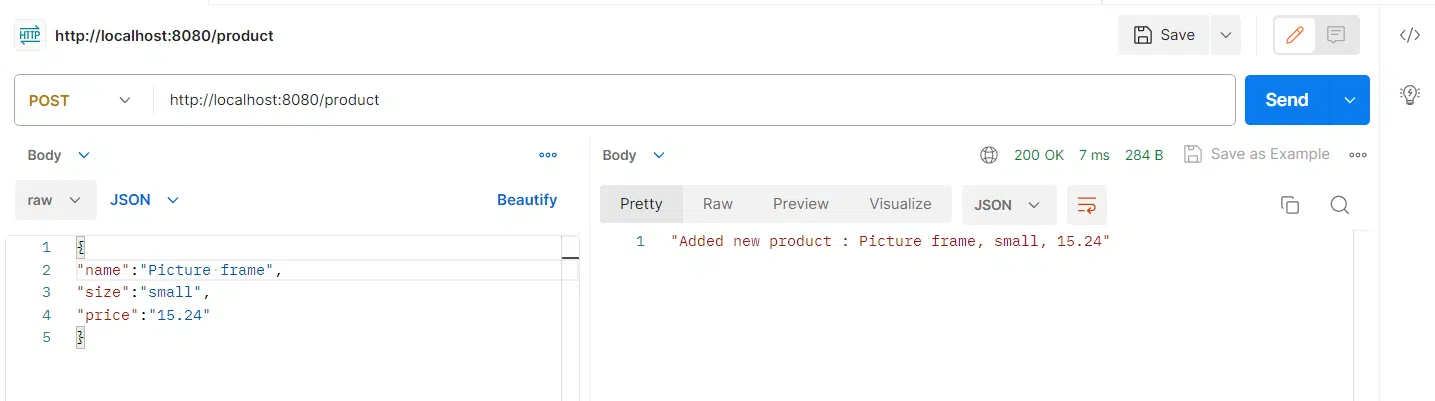
To test this endpoint you will really need to use Postman to test it, so that you can easily construct a request body. My request and response look like this:
So what’s next?
I’ve shown you how to build a simple NodeJS Api with Express with examples of a GET endpoint and a POST endpoint. In my next post, I’ll explain how to separate the app.js file into routes and controllers, and I’ll cover a few more endpoint types.
If you happen to be building a Node JS API already and are using Mongoose, check out my post about paginating data the right way from a Mongo DB database.