I needed to start work getting data from the Twitter API using Nodejs recently. I hadn’t used the Twitter developer API or explored any Twitter data before, so I had to learn each step, and have documented the process here. This blog post explains how to use the Twitter REST API with Node.js. It includes examples of how to get access to the API, install the Twitter npm package, find your Twitter API key, and use the access token to make your first request. There is a new API being developed by Twitter – Twitter API v2 (twitter-api-v2 npm), and it’s this one that I’m using in this post.
Table of contents
Prerequisites
I’m presuming you’ve worked with Node.js before and / or have a basic idea of how to get data from an API, so I’ll provide the code and there are some comments inline which help describe what each section does (If you need any help running a Node.js file read this post). I’ve left some console.log messages in here as I find them useful when creating a new endpoint and debugging.
Get access to the Twitter API
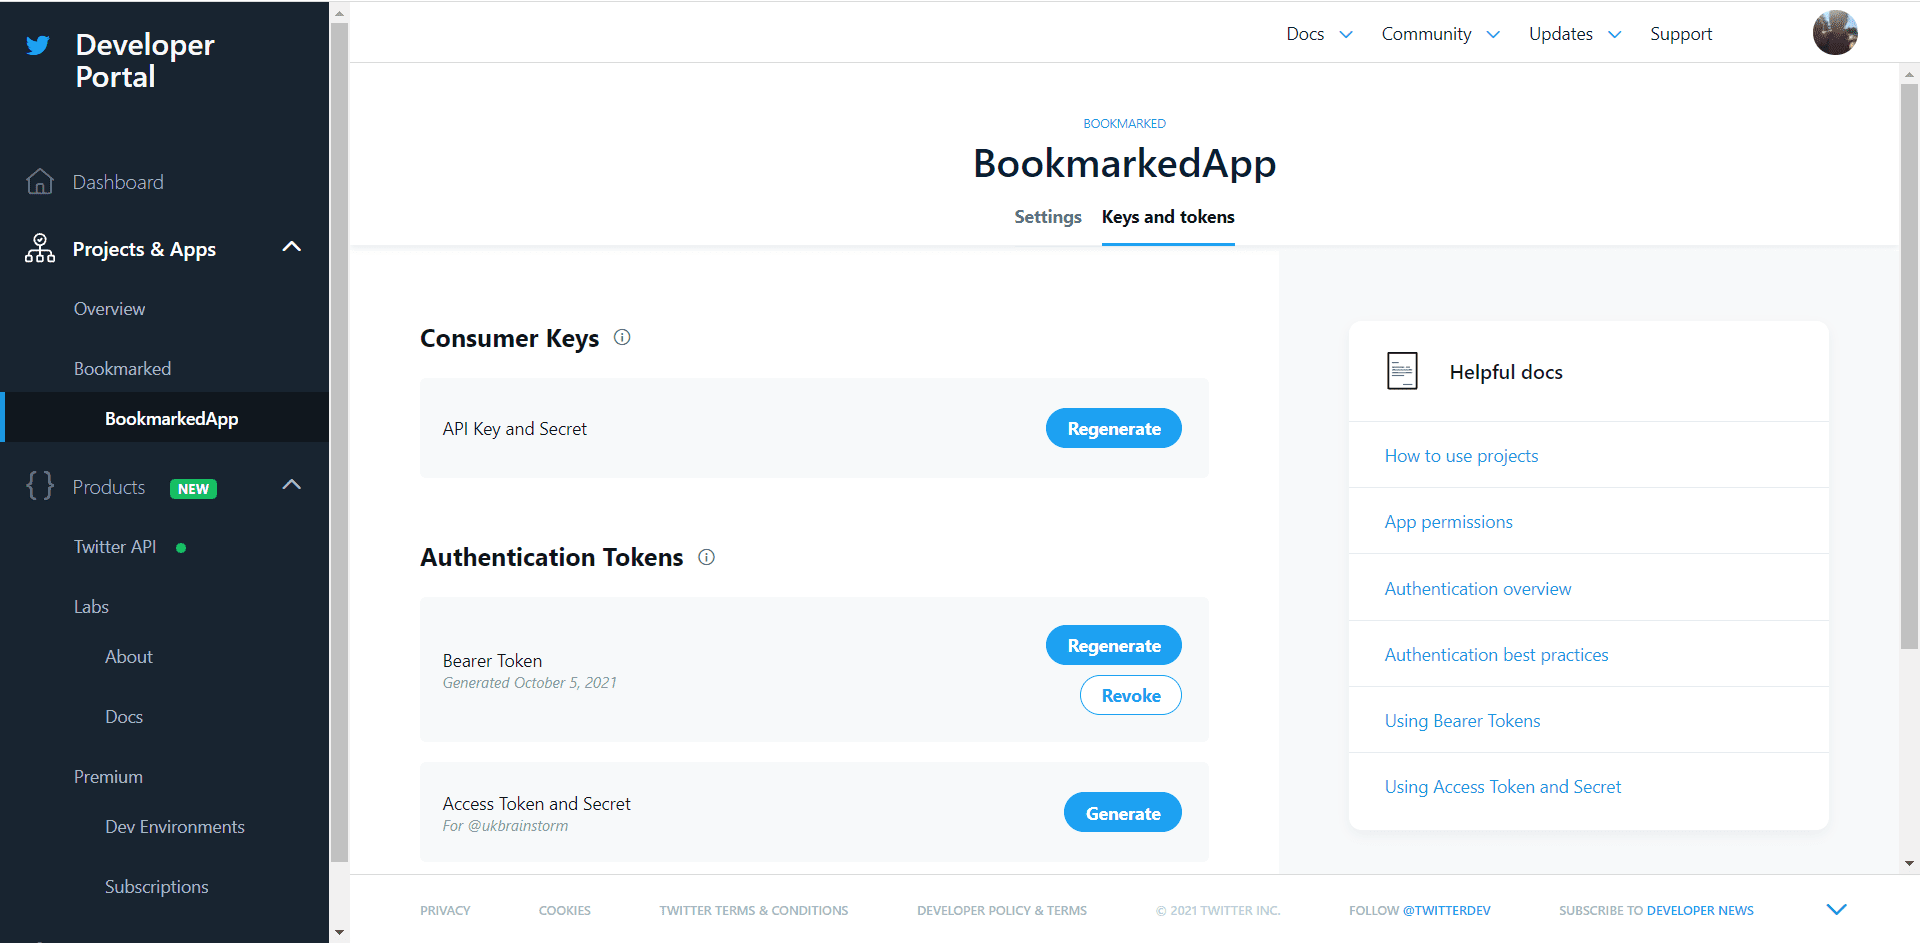
In order to request Twitter data from the API you need to apply to get access here – https://developer.twitter.com/en/apply-for-access. This involves filling out a form within which you need to describe in basic terms what you’ll be using the data for. Once I’d submitted the form I had instant access to the standard API and was shown a page which contained all the keys and id’s I might need to get data. You’ll need to make note of these and save them in a secure place.
Twitter API keys & tokens
Once you have access to the Developer Portal you need to set up a project for each app that you intend to build. If you need to find your access tokens and keys again, in the left hand menu select Projects & Apps > your project name. You’ll see a page that will enable you to regenerate your keys and tokens if you have lost them. The Twitter API documentation describes these like this:
Specifically, keys are unique identifiers that authenticate your App’s request, while tokens are a type of authorization for an App to gain specific access to data.
Twitter API

Set up a blank Node JS Server
To get at the Twitter data using Node.js we need to set up a new blank Node JS project. I created a new, blank Node JS server following the steps on this page https://nodejs.org/en/docs/guides/getting-started-guide/.
For this endpoint you will need to provide the id of the twitter account you want to get data for. This website will help you convert a Twitter handle into a user id.
const needle = require("needle");
const express = require("express");

const id = "put-your-twitter-id-here";
const likedTweetsendpointURL = `https://api.twitter.com/2/users/${id}/liked_tweets`;
const token = process.env.BEARER_TOKEN;

function twitterRoute() {
  const tweets = new express.Router();

  // GET REST endpoint - query params may or may not be populated
  tweets.get("/", function (req, res) {
    console.log(new Date(), "In twitter route GET / req.query=", req.query);

    (async () => {
      try {
        // Make request
        const response = await getLikedTweets();

        //return result
        console.log("Tweet likes data received");
        res.json({ response });
      } catch (e) {
        console.log(e);
      }
    })();
  });

  async function getLikedTweets() {
    // The default parameters - only the Tweet ID and text are returned
    const params = {
      "tweet.fields": "lang,author_id",
      "user.fields": "created_at",
    };

    // this is the HTTP header that adds bearer token authentication
    const res = await needle("get", likedTweetsendpointURL, params, {
      headers: {
        "User-Agent": "LikedTweetsTestCode",
        authorization: `Bearer ${token}`,
      },
    });

    if (res.body) {
      return res.body;
    } else {
      throw new Error("Unsuccessful request");
    }
  }

  return tweets;
}

module.exports = twitterRoute;
Test the endpoint
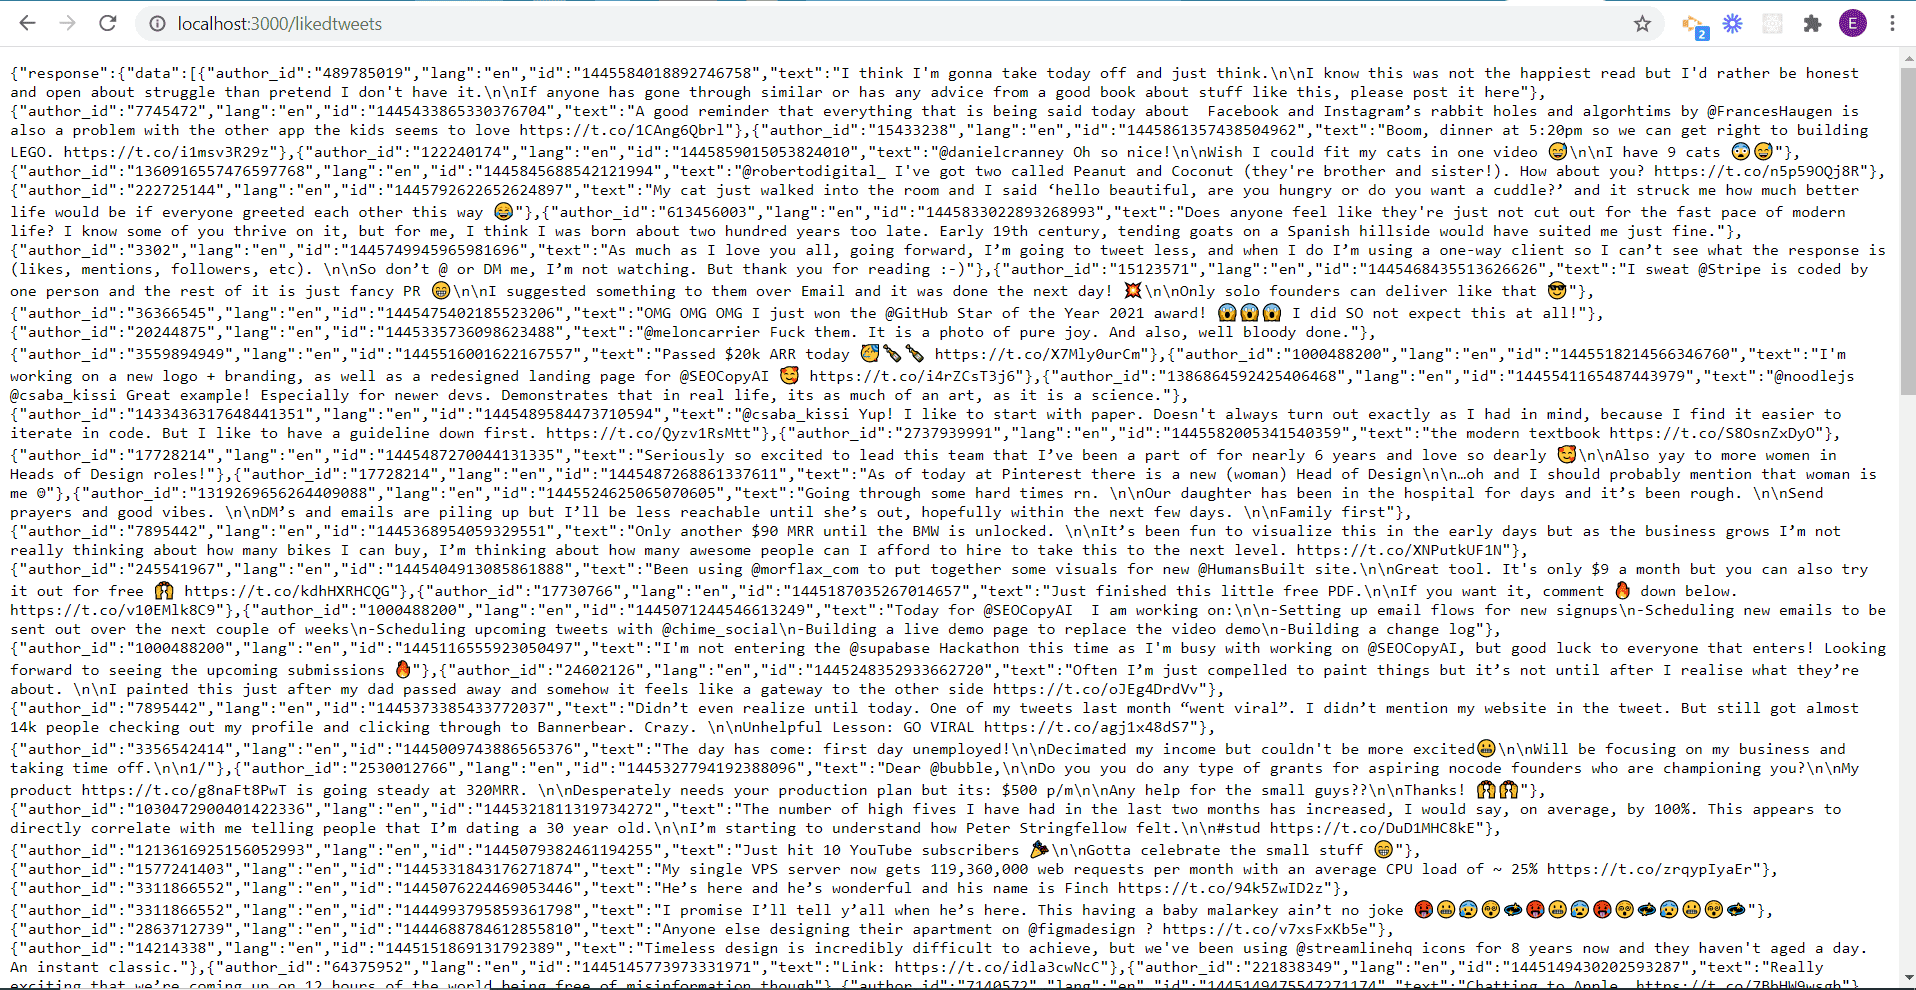
Now that you’ve set up your Node app to consume the API data, you need to test the endpoint. As a really simple test you can just try this endpoint in the browser and you’ll see something like this:

Use the Twitter API data in a NodeJS app
Now you’ve got your Nodejs api running and getting data from the Twitter REST api (using twitter-api-v2 npm), you can consume this data from some kind of front end client. Maybe a React Native Expo app, or a web app using React js. If you want to take this further by building a mobile front end then you may find my post about building an Expo app useful, or maybe you’d rather use Flutter.
